 ChatGPT
 Claude
 Gemini
 Perplexity
Manage Users
The Users page allows administrators to manage all users in their organization and assign them roles across different accounts.
Overview
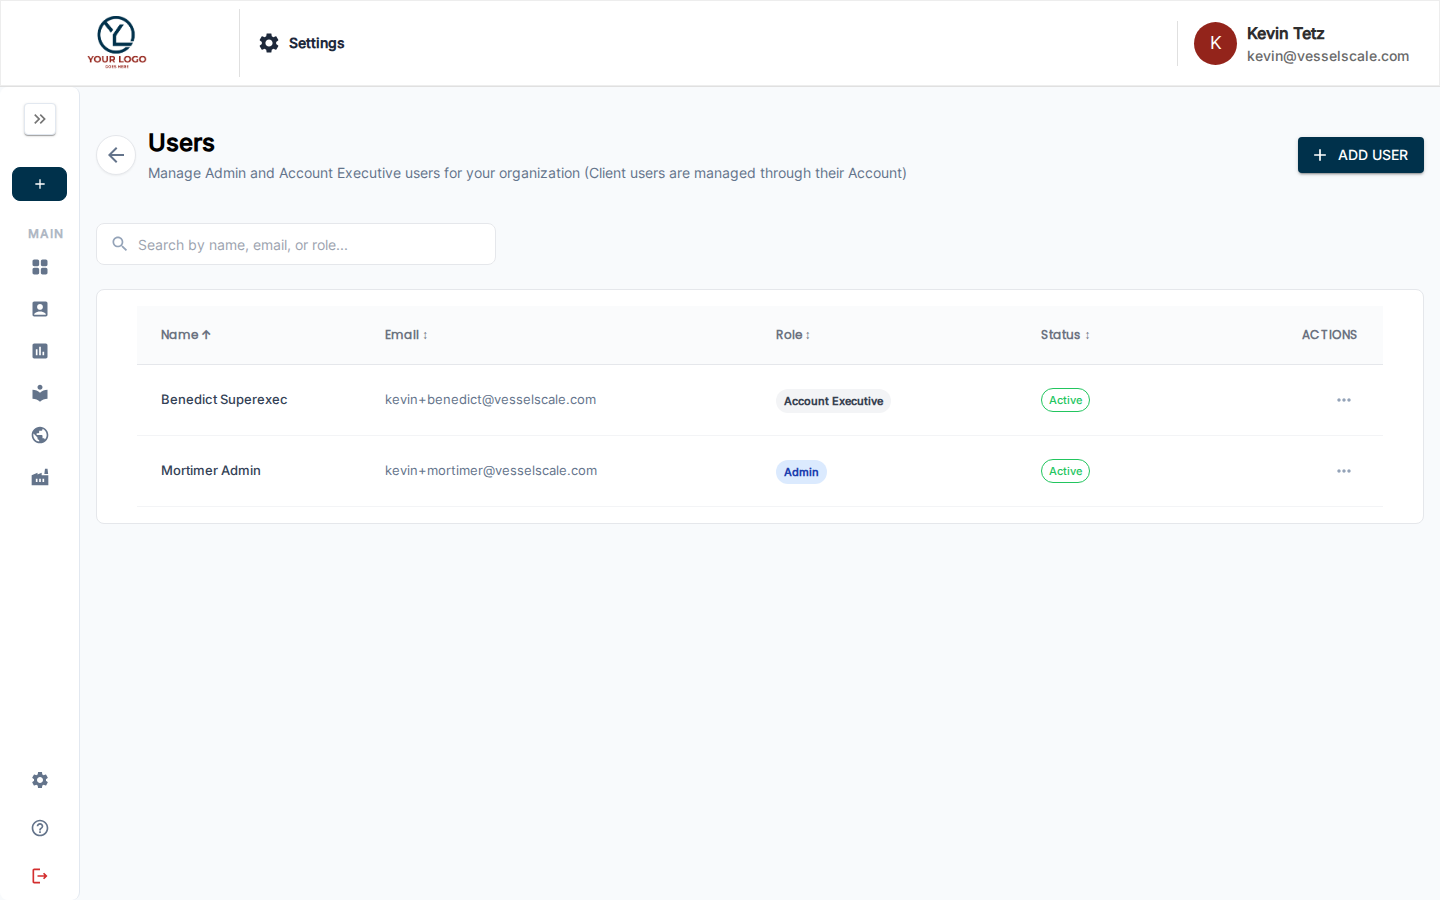
From the Users page, you can:
- View all active users — See a list of all users with their assigned roles
- Invite new users — Send invitations to new team members
- Assign roles — Control what each user can do across different accounts
- Manage access — Remove users or change their role assignments
User List
The Users list shows:
- Name — User's full name
- Email — User's email address
- Primary Role — Their default role in the system
- Accounts — Accounts where the user has special role assignments
- Status — Active, invited, or inactive
Inviting Users
To invite a new user:
- Click the + Invite Users button
- Enter the email address of the person you want to invite
- Select their initial role:
- Admin — Full system access and configuration
- Account Executive — Multi-account management (assign specific accounts)
- Client — Self-service assessment and results viewing
- If assigning Account Executive, select which accounts they manage
- Click Send Invite
The user will receive an email invitation with a link to create their account and set their password.
Bulk invitations
You can invite multiple users at once by entering multiple email addresses separated by commas.
Assigning Roles
Default roles
When users are first invited, they receive a default role for the entire system. This role applies to all accounts unless overridden.
Account-specific roles
For Account Executives, you can assign different roles for specific accounts:
- Click the user's name to view their details
- Under Account Assignments, select an account
- Choose the role for that account
- Click Save
This allows a user to be an Account Executive for one account and a Client for another.
Related
- Permissions & User Roles — Understand what each role can do
- Settings — Settings overview