 ChatGPT
 Claude
 Gemini
 Perplexity
Workflow Step 5 — Provide Results
Close the assessment and share your findings with the client using web reports and PDF reports. This is the final step of the assessment workflow.
What You'll Do in This Step
- Close the Assessment — Move from Results Review to Closed status
- Create Web & PDF Reports — Generate shareable reports with findings
- Share Results — Publish reports and share links with clients
Closing Your Assessment
Once you've finished building recommendations and analysis:
- Navigate to the Assessment Details page
- In the Assessment Workflow Guide, look for Step 5 — Provide Results
- Click Close Assessment or use the status dropdown to change the status to Closed
Once closed: - ✅ Assessment moves to final status - ✅ No new responses can be submitted - ✅ Reports are ready to be generated and shared - ✅ Assessment appears in historical records
Creating a Web Report
What is a Web Report?
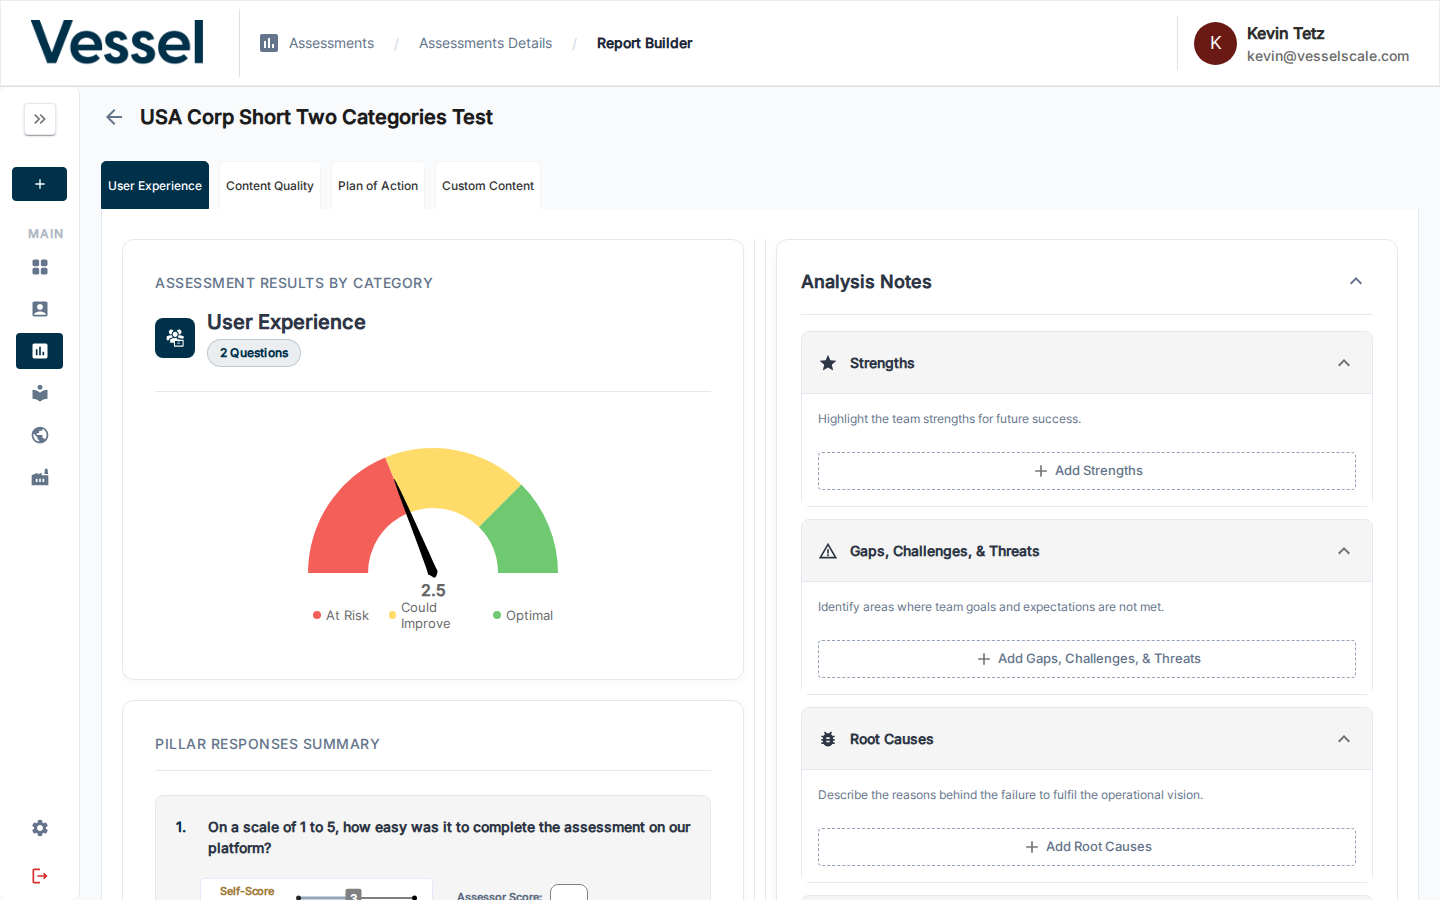
A Web Report publishes your assessment findings as a branded, interactive web page that clients can view in their browser. It includes:
- Visual charts and gauges for each category
- Your documented analysis and recommendations
- Custom branding (logo, colors, styling)
- Responsive design that works on all devices
How to Create a Web Report
From the Assessment Details page:
- Click the Share button in the action bar
- Select Web Report from the options
- Choose a report template (or create a new one in Settings)
- Review the preview
- Click Publish
A shareable URL is generated that you can send to the client.
Creating a PDF Report
What is a PDF Report?
A PDF Report exports your assessment findings as a professionally formatted PDF document that can be downloaded, printed, and archived. It includes all the same content as the web report in a portable format.
How to Create a PDF Report
From the Assessment Details page:
- Click PDF in the action bar
- Choose a PDF report template
- Review the preview
- Click Download or Send
Sharing Results with Clients
You can share reports through multiple channels:
| Method | Best For |
|---|---|
| Web Report Link | Interactive viewing, quick sharing via email or chat |
| PDF Download | Archiving, printing, offline access |
| Client Portal | Self-service access if clients have portal login |
| Direct delivery with automatic notifications |
Configuring Report Templates
To create custom report templates:
- Navigate to Settings in the sidebar
- Go to Web Reports or PDF Reports
- Click + Create Report Template
- Configure:
- Template Name — Descriptive name for this template
- Sections — Choose which content to display
- Branding — Add logo, colors, custom styling
- Content — Select analysis notes, scores, insights to include
Full guide: Web Report Settings Full guide: PDF Report Settings
After Providing Results
✅ Assessment is Closed — All data is finalized
✅ Reports Published — Results are shared with clients
✅ Historical Record Created — Assessment appears in your assessment history
✅ Next Assessment Ready — Create a new assessment for the next evaluation cycle
Related
- Assessment Details Reference — Full assessment management
- Web Reports — Create and manage web report templates
- PDF Reports — Configure PDF report templates
- Report Builder — Edit analysis and recommendations
- Recommendations — Your suggested plan of action
- Branded Design — Your logo, colors, and custom styling
- Professional Layout — Easy-to-read, mobile-friendly format
Going Deeper
Once you've published your first web report, explore these additional features:
- Configure Web Report Templates — Create and manage report designs
- PDF Reports — Export findings as a downloadable PDF
- Branding Settings — Customize all reports with your logo and colors
- Assessment Scoring Details — Understand score calculations
- Report Builder Reference — Detailed analysis tools and options
Optional: Explore Additional Features
After mastering the four-step workflow, you can explore:
- Dashboard — View assessment activity and trends across all accounts
- Ecosystem View — Compare performance across multiple accounts
- Settings — Configure intake forms, web reports, branding, and more
- Library — Build and manage assessment templates
Related
- Report Builder Reference — Detailed analysis tools
- Web Reports Reference — Template creation and management
- Assessment Scoring — Understand score calculations
- PDF Reports — Export findings as PDF
- Branding — Customize report appearance and colors