 Claude
 Perplexity
Step 2 — Design an Assessment
Before creating individual assessments, you need an assessment template in the Library. The Library is where you define the questions, scoring rules, and categories that all assessments of that type will use.
Terminology
In your organization, assessments might be called "Evaluations", "Surveys", "Reviews", or something else entirely. You can customize what the platform calls assessments in Settings → Branding. All references throughout the system will use your chosen terminology.
Opening the Library
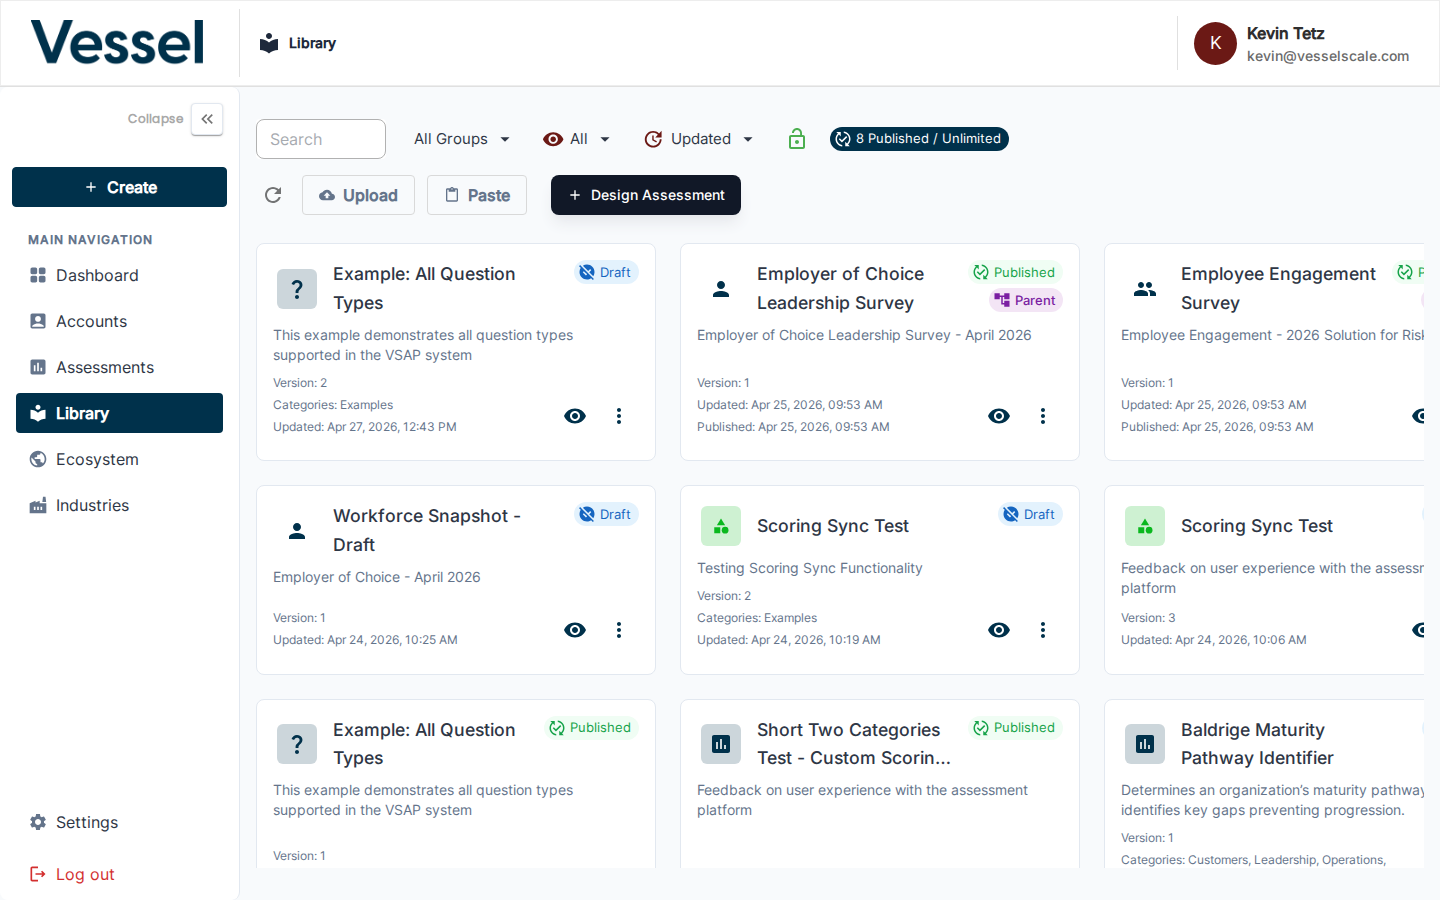
Click Library in the left sidebar.
See Library Overview for complete details on managing assessment templates.
Creating a New Template
Click + Design Assessment in the top-right corner.

The template editor opens. Give it a name, then add categories and questions.
What Goes in a Template
| Element | Description |
|---|---|
| Categories | Top-level groupings (e.g., User Experience, Plan of Action) — organize your assessment structure |
| Questions | Individual prompts within each category — supports multiple choice, rating scales, open-ended text, and more |
| Scoring | Define score zones: At Risk, Could Improve, Optimal — controls how results are calculated |
Learn more: Question Types | Scoring Rules
Using an Existing Template
If a template already exists that fits your needs, you can use it directly when creating an assessment — you do not need to create a new one.
Browse existing templates in the Library and search by name or category to find what you need.
Editing & Managing Templates
- Edit a template: Click the template name in the Library to open the editor
- Duplicate a template: Use the duplicate option to create a variation based on an existing template
- Archive a template: Hide inactive templates from the list
- View usage: See which assessments use each template
See Library Reference for complete template management instructions.
Next Step
Step 3 — Deliver your Assessment
Related
- Library Overview — Assessment template management and best practices
- Question Types — Supported question formats and use cases
- Scoring Rules — Define score zones and thresholds
- Assessment Categories — Organize your assessment structure