 Claude
 Perplexity
Step 1 — Add an Account
In VSAP, an account represents a client organization you are assessing. Before you can run an assessment, you need to create at least one account.
Let Clients Create Their Own Account
External users can self-register and populate their own account details through the Intake Form. Simply share an intake form link with them, and their submission automatically creates an account in your system. See Configure Intake Forms for details on how to set this up.
The Accounts List
Navigate to Accounts in the sidebar to see all existing accounts.
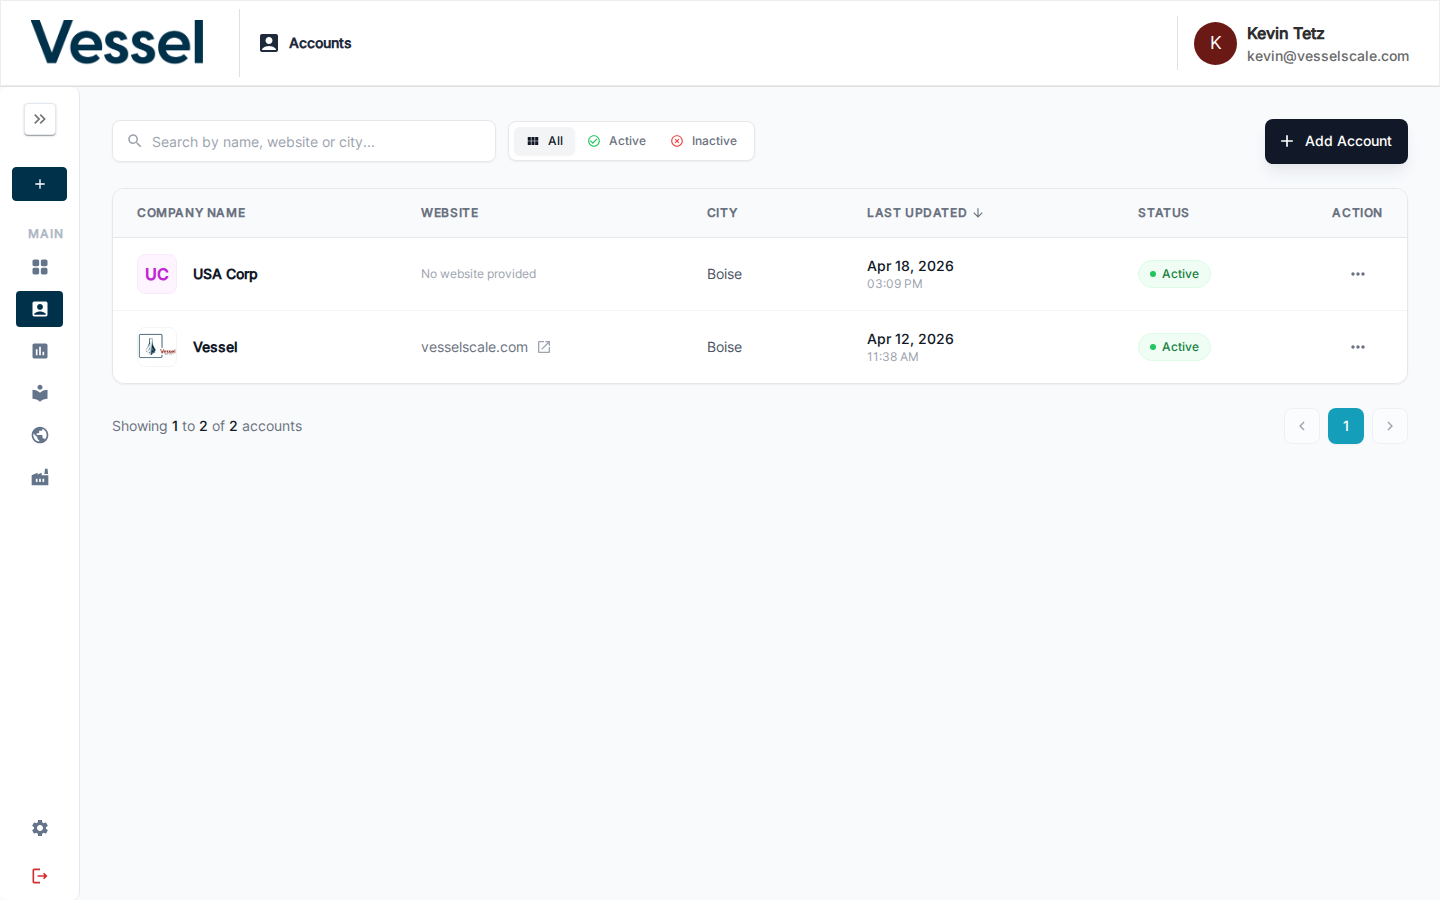
Use the search bar to filter by name, website, or city. Toggle between All, Active, and Inactive to narrow the list.
Learn more: Accounts Overview
Two Ways to Create an Account
Option A — Create from the Sidebar
Click the + Create button in the sidebar and select Add Account.
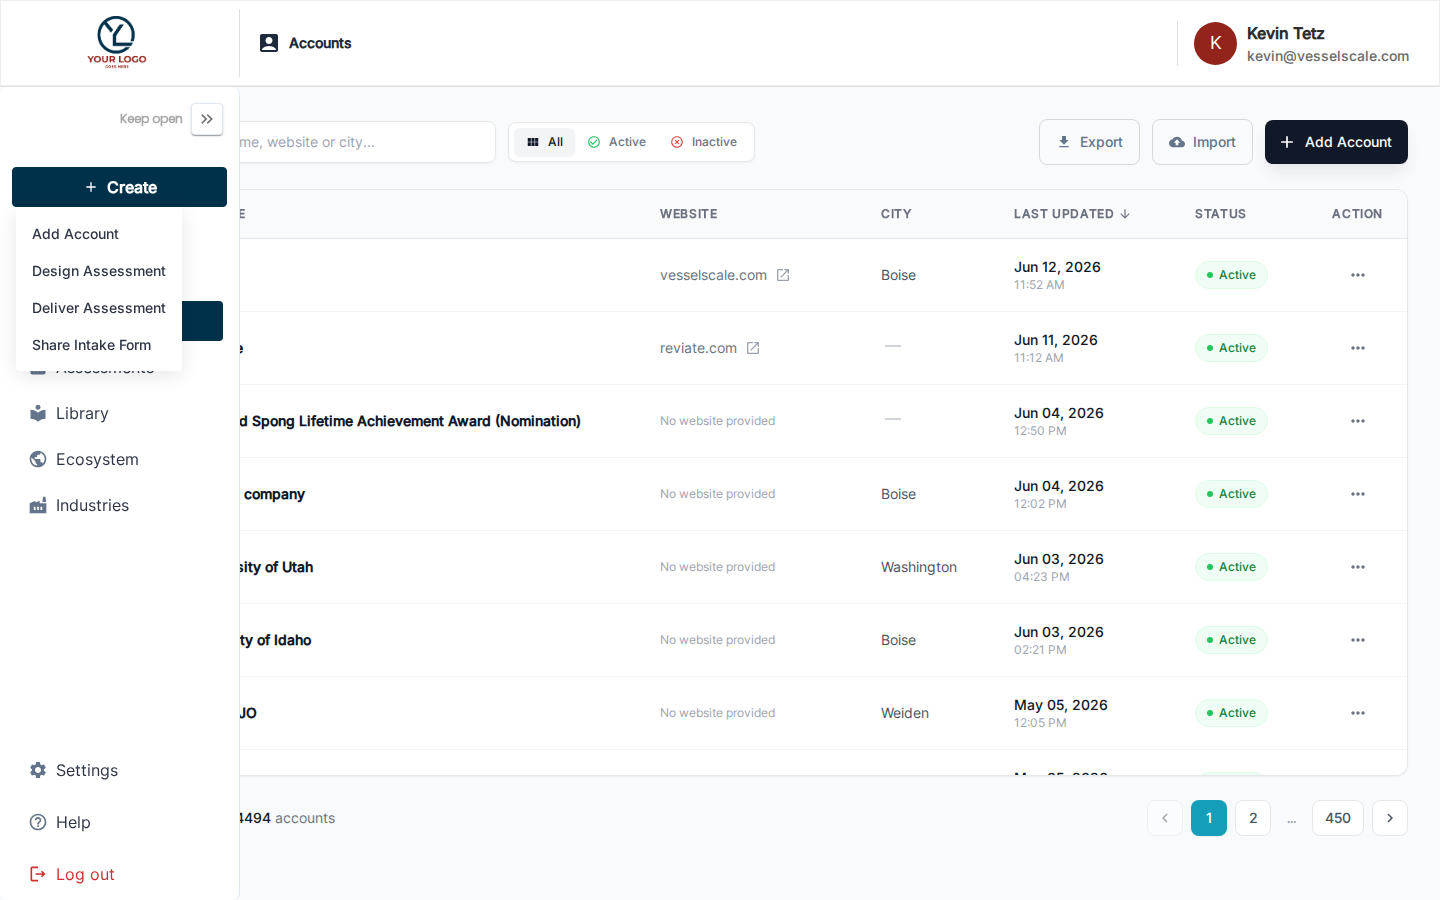
This opens the Create Account form directly.
Option B — Add Account Button
From the Accounts list page, click Add Account in the top-right corner.
Both methods open the same Create Account form.
Filling In the Create Account Form
The form has three sections:
| Section | Key Fields |
|---|---|
| General Info | Company name (required), email, address, website, country, state, city, zip code, company logo |
| Contacts | First name (required), last name (required), email (required), phone, contact type, role |
| Additional Information | DUNS number, UEI, PSC, region, employee count, annual sales, business description, and other organizational attributes |
Click Save when done. You will be taken to the new account's detail page.
Full Reference
For detailed information on all account fields, see Create Account Reference.
Next Step
Related
- Create Account Reference — Full field reference and options
- Accounts Overview — Manage all client organizations
- Intake Forms — Let clients self-register
- Account Details Page — View and edit account information